
Can You Replace Air Hockey Blower Motor: A Repair Guide
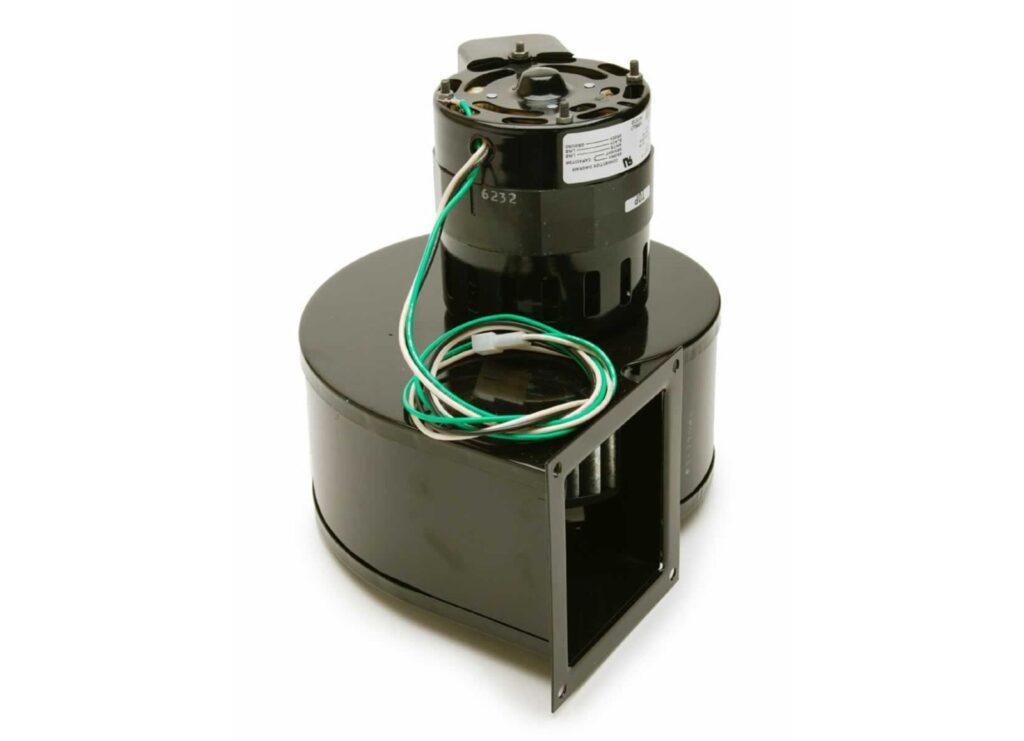
Yes, you can replace an air hockey blower motor if the unit uses a standard, removable fan housing. If the motor has seized or the internal windings are burnt, you’ll need to swap the entire assembly to restore the airflow. You should check the voltage rating on the motor label before you purchase any replacement part.
When to fix your air hockey table
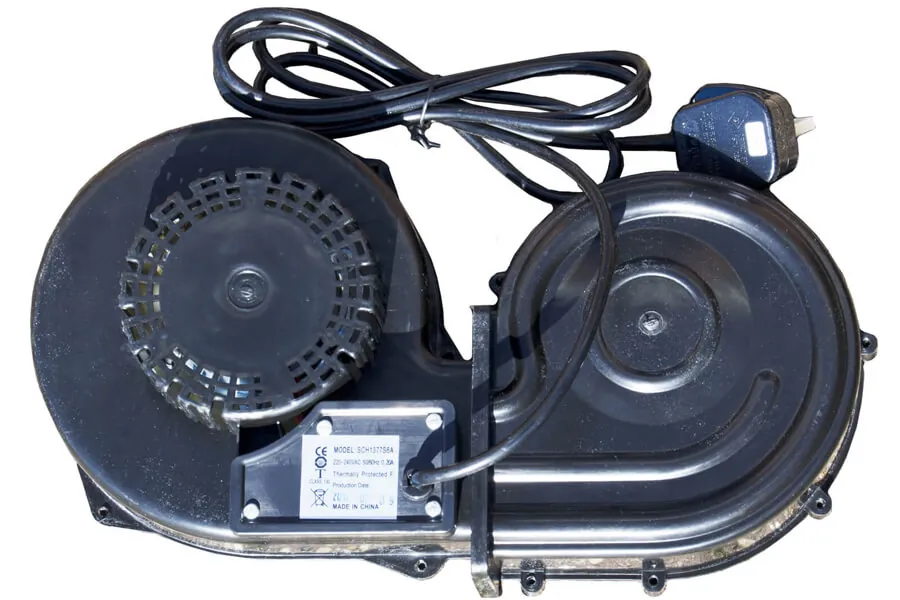
Whether you should attempt this repair depends on the type of motor your table uses and its current condition. Many home tables use proprietary housings that are easy to swap, while some commercial or high-end models require professional technical support.
| Your situation | Answer | Why |
|---|---|---|
| Motor makes loud grinding noise | Yes | Bearings are likely failing |
| Motor hums but doesn’t spin | Yes | Capacitor or motor is dead |
| No air comes through holes | Yes | Fan blades or motor blocked |
| Table uses custom integrated frame | No | Parts aren’t sold separately |
| Wiring is charred or melted | No | Fire risk requires expert help |
| Motor smells like burning plastic | No | Internal insulation is already gone |
Choosing the right replacement parts
The motor is the heart of your table’s performance, and its ability to provide consistent pressure depends on matching the original specifications. Most home air hockey tables use a standard 110V-120V AC blower motor, but you must verify this by checking the sticker located on the side of the housing. If the voltage or the CFM (cubic feet per minute) rating doesn’t match your original unit, you’ll either have weak airflow or risk blowing a circuit.
You must also measure the physical footprint of the housing. Even if the motor power matches, a bracket that’s too large or too small won’t align with the existing mounting holes under your table. If your table uses an older style of mounting plate, you may need to drill new pilot holes, but be careful not to puncture the playing surface from below.
If you’re working with a table that has a power cord showing signs of fraying or damage, the Electrical Safety Foundation International recommends replacing the entire cord set rather than attempting a splice. Never use a motor with a different voltage than what your local outlet provides, as this can cause the motor to overheat or fail immediately. If the mounting holes don’t align, you must use proper steel brackets; if they do align, you can use the existing hardware.
Steps to install your new motor
- Unplug the power cord from the wall outlet to ensure the system is completely de-energized before you touch any wires.
- Remove the mounting screws holding the blower housing to the underside of the table, making sure to support the weight of the motor so it doesn’t fall and damage the table’s MDF base.
- Disconnect the wire nuts or quick-connect plugs that link the motor to the table’s power switch, noting which wire connects to which terminal.
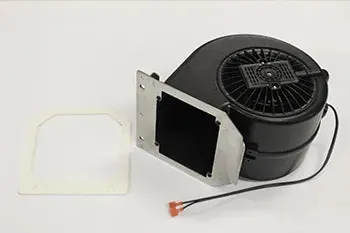
- Align the new blower with the existing mounting holes, ensuring the output vent points directly into the air chamber beneath the playfield.
- Secure the housing tightly using the original screws to prevent vibration, which can cause the motor to loosen over time and create excess noise.
- Reconnect the electrical wires using the same configuration you recorded during removal, ensuring all connections are covered with secure wire nuts or heat-shrink tubing.
- Test the airflow by turning the table on for 30 seconds to confirm the motor spins freely and the air pressure is even across the entire surface.
The mistake people make with blower motors
The most common mistake is ignoring the buildup of dust and debris inside the motor housing before deciding it’s dead. A heavy layer of lint can block the intake, causing the motor to overheat and trigger an internal thermal fuse. This costs you the price of a full motor replacement when a simple cleaning might have solved the problem.
Always use a vacuum or compressed air to clean the intake grille before you assume the motor is broken beyond repair. If the motor remains silent after a thorough cleaning, check the power switch and the cord for continuity.
If the motor hums but the puck doesn’t hover, the issue is likely a loose fan blade rather than a failed motor. Tighten the set screw on the fan hub before ordering a replacement part.
When to stop and get help
Some issues go beyond a simple swap and require professional repair to keep your table safe for use. You should stop your DIY work if you notice any of the following signs:
- The power switch itself is sparking or feels hot to the touch, which indicates a failing electrical component that could cause a fire.
- You find loose, frayed, or scorched internal wiring that suggests a short circuit has occurred within the table’s frame.
- The mounting area for the blower is cracked or rotting, which means the table can no longer safely support the weight of the motor.
- The motor requires custom soldering or modification to the internal circuitry, as this requires specific training to avoid accidental electric shock.
Frequently asked questions
How long does an air hockey blower motor last?
Most blower motors last for a reasonable period of moderate home use, assuming you keep the intake vents clear of dust.
Does it matter if I buy a generic motor?
It doesn’t matter if the motor is a name-brand unit, provided the voltage, amperage, and physical dimensions are identical to your original part. You must verify that the replacement motor matches the electrical requirements listed on the manufacturer’s data plate before you attempt to install it under your table.
Is it safe to use a higher power motor?
It isn’t safe to install a motor with higher power or amperage than the original design, as this can overload the table’s wiring and the power switch. You should always match the original specifications to prevent overheating, which can melt the plastic housing or damage the internal electrical components of your table.
Why is my new motor vibrating so much?
Vibration usually happens because the mounting screws aren’t tightened evenly or the blower housing isn’t perfectly flush against the underside of the table. You should check that all mounting screws are secure and ensure that the rubber gaskets, if present, are seated correctly to dampen the noise during operation.
Can I repair a seized blower motor?
You can’t safely repair a seized motor, as the internal bearings are typically sealed and not designed for user maintenance. If the shaft doesn’t spin smoothly by hand, you should replace the entire blower assembly to ensure the motor doesn’t overheat or cause a potential fire hazard during use.
Does the air flow direction matter?
The direction of the airflow is critical, and the output vent must be pointing directly into the air chamber under the table’s playfield. If the vent is obstructed or turned the wrong way, the motor will struggle to push air through the holes, which will cause the motor to overheat and fail quickly.
Replacing your air hockey blower motor
Start by unplugging the unit and checking the label on the side of the motor to confirm the correct voltage for your replacement. If the new motor fits securely and the wiring matches the original setup, you can expect the table to return to full playing pressure within minutes.
Most home tables require a 110V-120V AC motor. If you install a 12V DC unit by mistake, the motor will fail to engage or burn out instantly. Always match the CFM rating on the original housing. A lower rating leaves dead spots on the surface, while a higher rating can blow the puck off the table.
If you encounter exposed wires or a damaged mounting board, stop immediately and contact a professional appliance technician for assistance.
About the Author Eric Glenn
I launched this blog to provide advanced material, guiding you towards a better and more comfortable gaming tools experience. I deliver more than gaming gear guides, and motivate people to play games and keep the fitness forever!

