
Can You Fix Dead Air Hockey Holes? Simple Repair Guide
Yes, you can fix dead air hockey holes if the surface damage is limited to the plastic top layer. You should check the depth of the hole immediately, as deep cracks that reach the inner wood or foam core usually can’t be repaired at home. If the damage is shallow, you can restore airflow by clearing the blockage and smoothing the surface.
Fixing dead air hockey holes
Not all surface issues are the same. You need to identify if your table is made of plastic, laminate, or metal, as this changes the repair method.
| Your situation | Answer | Why |
|---|---|---|
| Tiny clogged holes | Yes | Clear debris with a needle |
| Shallow surface scratches | Yes | Sanding smooths the plastic |
| Deep cracks in wood | No | Surface integrity is lost |
| Large missing chunks | No | Air pressure will escape |
| Warped playing surface | No | Internal structure is damaged |
| Surface finish peeling | Yes | Light sanding removes edges |
If you encounter clogged holes, use a thin sewing needle to gently dislodge dust or wax buildup. Don’t use a drill bit, as it will widen the hole and ruin the puck’s air cushion.
For surface scratches, use 600-grit sandpaper. Move in a light, circular motion to avoid creating uneven divots that snag the puck. If you feel the grain of the wood or metal through the laminate, the damage is too deep to sand.
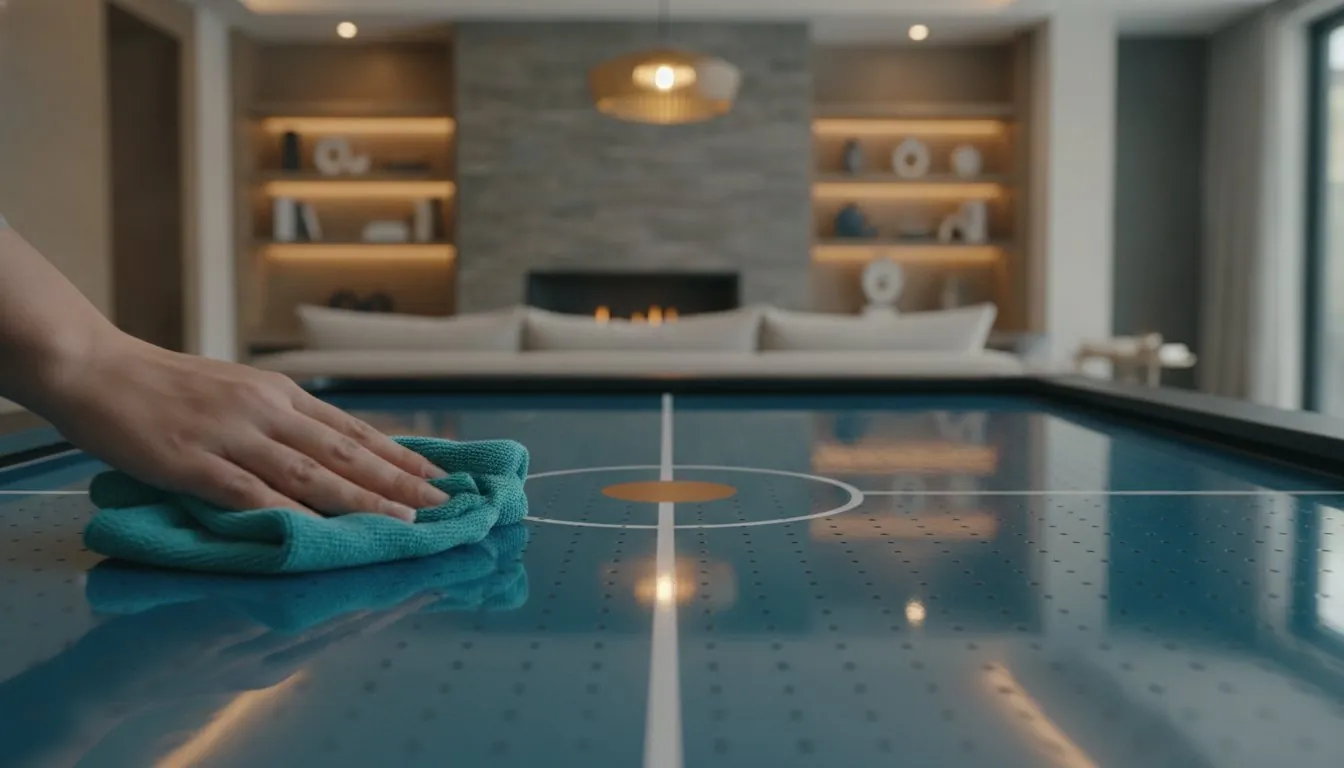
If the table surface feels tacky or slow, avoid harsh chemical cleaners. These strip the factory finish and cause the laminate to peel prematurely. Use only a soft cloth with a mild glass cleaner to keep the air flowing consistently.
What decides if a repair works
The main factor is whether the air plenum—the space underneath the surface—is still airtight. Air hockey tables rely on consistent pressure to float the puck. If the hole has pierced the plenum or caused a major structural crack, the air will leak out from underneath rather than pushing through the remaining holes.
You can test this by covering the damaged area with your hand while the fan is running. If you feel air escaping from the side of the table or if the pressure drops significantly across the entire surface, the structural integrity is compromised.
Surface material also matters. Most home tables use a thin plastic laminate over compressed wood. If you sand too deep, you’ll expose the porous wood core, which absorbs moisture and warps quickly. You must only work on the top layer. If the hole is caused by a dent rather than a puncture, you might be able to gently heat the plastic to pop it back up, but this carries a risk of melting.
How to fix blocked or damaged holes
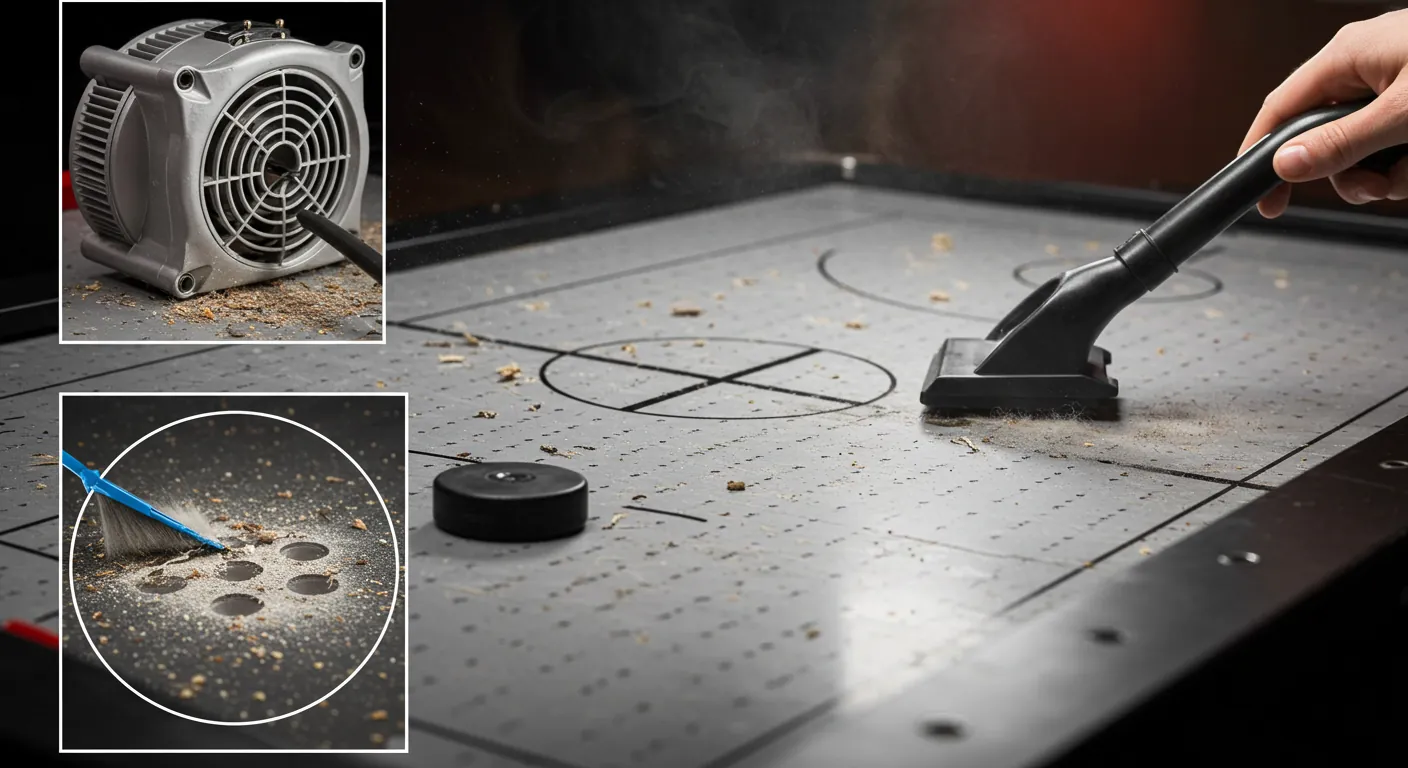
If you have decided to proceed with a repair, follow these steps to clear or smooth the surface of your table.
- Clear the obstruction by using a thin sewing needle or a small paperclip to gently push debris out of the hole from the top side. You’ll know it’s clear when you can see light through the hole or feel air flowing through it when the fan is on.
- Smooth the surface around the hole if the plastic is jagged or raised. Use a fine-grit sandpaper, such as 400-grit, to lightly buff the area until it’s flat.
- Check for burrs by sliding a clean cloth over the area; if it snags, continue sanding until the surface is smooth.
- Clean the dust away with a dry microfiber cloth, as any remaining grit will scratch the puck and slow down your gameplay.
- Test the airflow by turning the fan on and placing the puck near the repaired hole. The puck should glide over the area without catching or changing direction.
The mistake people make
The most common mistake is using heavy-duty glue or wood filler to plug a hole. This permanently blocks the airflow and creates a dead spot. The puck will stop instantly every time it hits the hardened material, effectively killing the game’s momentum.
If you’re unsure whether a hole is truly blocked, use a thin needle to clear the debris. If the needle passes through with minimal resistance, the air channel remains viable. If you meet hard resistance, you’re likely dealing with a structural crack rather than a simple blockage.
Never fill these holes with permanent materials. If you use epoxy or putty, you ruin the surface tension required for the puck to glide. Instead, focus on smoothing the existing plastic edges. If the plastic is warped, use a light-grit sandpaper to level the area. This preserves the airflow while restoring the smooth surface needed for consistent, high-speed play.
When to stop and get professional help
You should stop trying to fix the table yourself if you notice signs of major structural failure. These indicate that the damage is beyond a simple surface repair.
- The table surface is sagging in the center, which means the internal support frame has failed.
- Large cracks are spreading across the board, as this indicates the material is brittle and will continue to break.
- The fan motor makes a grinding noise, as this suggests internal debris has entered the blower housing.
If you face these issues, stop using the table to prevent further damage. A professional furniture repair service or the manufacturer can advise if a replacement surface panel is available for your specific model.
Related guides
Frequently asked questions
Can you fix dead air hockey holes with tape?
No, you can’t use tape to fix holes because it blocks the airflow and creates an uneven surface that will stop the puck. Tape also leaves a sticky residue that attracts dust and dirt. If a hole is blocked, you must clear the debris rather than covering it up.
How do I know if the hole is too deep?
A hole is too deep if you can see the brown wood or gray fiberboard underneath the white plastic finish. If you see the core material, the surface has been compromised. You can’t fix this without replacing the entire playing board, as the wood will eventually swell and warp.
Will sanding the surface ruin the table?
No, sanding won’t ruin the table if you use a fine-grit paper and only work on the top layer. You must use a light touch to avoid removing too much material. If you sand too deep, you’ll create a depression that will affect the puck’s movement.
How many holes can I safely clear?
You can safely clear as many holes as are physically blocked, as this returns the table to its original design. There’s no limit to how many holes you can clear, provided the board itself isn’t cracked. Clearing them improves the overall air pressure across the playing surface.
Is it safe to use heat to fix a dent?
Usually not, as the plastic used on these tables melts at a low temperature and can easily warp or discolor. If you use a heat gun, you risk ruining a large section of the board. It’s much safer to sand down the edges of a dent until the surface is flat.
What happens if I use wood filler?
If you use wood filler, you’ll permanently seal the hole and stop the air from flowing through it. This creates a permanent dead spot where the puck will stop every time it passes over the area. Never use fillers, as they aren’t meant for high-speed gaming surfaces.
Fixing your air hockey table surface
Start by inspecting the holes with a bright flashlight to see if they’re simply clogged with dust. Use a thin, stiff wire or a toothpick to gently clear any debris blocking the airflow. Don’t use a drill, as widening the holes will permanently destroy the pressure needed for the puck to float.
If the holes are clear and the air is still not flowing, the issue is likely with your fan or the internal air distribution system. Check the intake vent for obstructions. If you find deep cracks in the plastic surface, stop your repair attempts immediately. Contact the manufacturer to see if a replacement playing surface is available for your model. Attempting to patch cracks with adhesive often creates uneven ridges that ruin the game.
About the Author Eric Glenn
I launched this blog to provide advanced material, guiding you towards a better and more comfortable gaming tools experience. I deliver more than gaming gear guides, and motivate people to play games and keep the fitness forever!

